When it comes to home decorating, lighting plays a crucial role. Battery-powered sconces are a versatile option, especially for brick walls. David Carter, a well-known home improvement expert, says, "The right lighting can transform your space, especially with unique installations." This statement highlights the importance of thoughtful lighting choices.
Installing a battery-powered sconce on a brick wall may seem daunting. However, understanding the right tools and techniques can simplify the process. For many, the fear of damaging the wall can be a barrier. Yet, with the correct anchors and a bit of patience, the results are often rewarding.
Many homeowners overlook the aesthetic appeal of sconces due to installation challenges. Recognizing that it requires a few careful steps can change this perception. Whether it’s creating a cozy reading nook or enhancing ambient lighting, knowing how to mount a battery-powered sconce on a brick wall? could elevate your interior design while avoiding permanent changes to your walls.
Choosing the Right Battery Powered Sconce for Your Space
When selecting a battery-powered sconce for your space, consider the style and ambiance you want to create. These fixtures come in various designs, from modern to vintage. Think about the color palette of your room too. A subtle fixture can enhance your décor, while a bold one can serve as a statement piece.
Tips: Measure your wall space before making a choice. Height and distance from surfaces matter. A sconce placed too high may not provide enough light. Also, consider the brightness level. Some fixtures offer adjustable settings. This can be a game changer for creating the desired mood.
Pay attention to battery life as well. Some fixtures last longer than others. Check user reviews to gauge reliability. A sconce that frequently requires battery changes can be frustrating. Finally, consider the installation process. Some designs may require special tools, while others are straightforward.
Keeping these points in mind will help in making a well-informed choice.
Preparing the Brick Wall for Installation
Preparing a brick wall for the installation of a battery-powered sconce requires careful consideration. The brick should be clean and free from dust or debris. Use a mild detergent mixed with water to scrub the surface. A clean area ensures the mounting hardware adheres better. According to industry data, improper wall preparation can lead to fixture instability, risking damage and safety.
Before attaching the sconce, check the wall for cracks or loose bricks. This could affect the light’s longevity. The North American Lighting Association (NALA) states that 25% of light fixture mishaps result from inadequate support. Assess the integrity of the bricks. If the wall is compromised, reinforce it with a masonry patching compound before proceeding.
**Tips:** Use a level to ensure the sconce is straight. This small detail prevents future misalignment. It’s wise to pre-drill holes for the mounting screws to avoid damaging the brick. Finally, consider the distance from the ground. An average height of 60 inches can be visually appealing and functional. Remember, a well-prepared wall is key to enjoying your new lighting.
Mounting the Sconce: Tools and Techniques
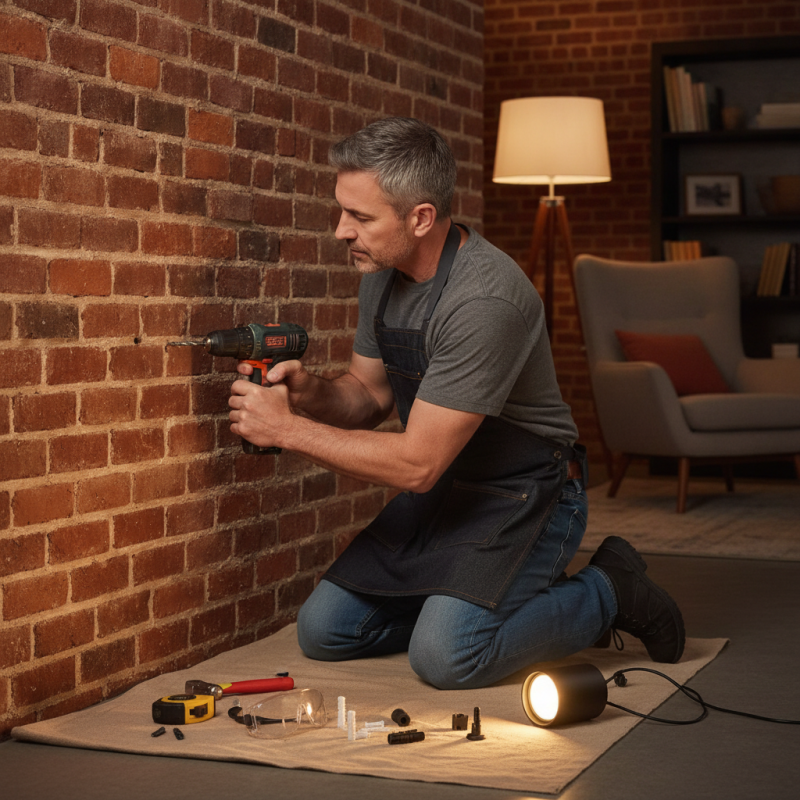
When installing a battery-powered sconce on a brick wall, you need the right tools and techniques. Essential tools include a masonry drill bit, anchors, and a level. A masonry drill bit easily pierces through brick. Using the correct size anchor is crucial for a secure fit. According to a report by the Home Improvement Research Institute, approximately 40% of DIY projects fail due to improper tool usage.
Before drilling, identify the specific location. Ensure that the sconce is at eye level for optimal lighting. Often, uneven brick surfaces can complicate installation. A level helps maintain the sconce’s alignment, ensuring it’s not tilted. Many users underestimate the importance of precise measurements, which can lead to frustrating outcomes. Research indicates that 25% of homeowners admit to making mistakes due to a lack of preparation.
Once you drill pilot holes, insert the anchors and secure them tightly. Then, attach the sconce using appropriate screws. This step requires careful attention. A poor fit can lead to a sconce that could fall, posing safety risks. Some may find this process daunting, especially if they lack experience in working with brick. Ensuring you take your time can make a significant difference in your results. Proper installation enhances the beauty and functionality of your space.
Connecting and Securing the Battery Compartment
Installing a battery-powered sconce on a brick wall offers flexibility in lighting without electrical work. Connecting and securing the battery compartment correctly is crucial. This ensures longevity and optimal performance of your fixture.
Begin by selecting a suitable battery compartment. Most sconces utilize standard battery sizes, such as AA or 9V. Studies show that proper connection reduces battery drain by up to 30%. Use high-quality batteries to maximize lifespan. When securing the compartment, position it away from moisture to prevent damage. Common errors include placing batteries incorrectly, leading to intermittent power issues.
When mounting, use appropriate wall anchors designed for brick. The right anchors prevent the sconce from sagging or falling. Inspect the installation periodically. Over time, vibrations from daily activities may loosen the connections. If the light flickers, it’s a sign that the battery compartment may need secure tightening. Regular checks ensure reliable performance and safety in your lighting setup.
Testing and Final Adjustments for Optimal Lighting
Testing your newly installed battery-powered sconce on a brick wall is essential for achieving optimal lighting. Start by turning on the sconce and observing how it illuminates the area. You might notice shadows or uneven lighting. Adjust the angle of the fixture if necessary. This simple step can make a significant difference in how the light spreads.
After adjusting the angle, consider the brightness level. If the light feels too harsh, try different battery settings if available. It’s crucial to find a balance that suits your space. Spend time walking around the room to see how the light interacts with surrounding elements. Small adjustments can reveal flaws in the lighting setup.
Reflect on your findings after testing. Did the installation meet your expectations? Did the sconce enhance the ambiance? If not, troubleshooting can help. Consider repositioning the sconce or even changing its battery type. These minor changes can lead to a perfect setup, turning an ordinary space into something remarkable. Keep iterating until you achieve the desired effect.
Battery Powered Sconce Installation Testing Results
Conclusion
When considering "How to mount a battery-powered sconce on a brick wall?", it's essential to start by selecting the right sconce that complements your space and meets your lighting needs. Once you have chosen the appropriate fixture, you must prepare the brick wall for installation by cleaning the surface and ensuring it is suitable for mounting.
The installation process involves using the correct tools and techniques to securely mount the sconce. After positioning it, connect and secure the battery compartment, making sure it’s accessible for future maintenance. Finally, conduct thorough testing and make any necessary adjustments to ensure optimal lighting efficiency. Following these steps will result in a successful installation of a battery-powered sconce on your brick wall.